Performing a Full Data Import in the Solr UI
This topic assumes you have already completed the following steps in regards to the installation of Solr on your KommerceServer web server.
- Install Java on your web server (skip this step if Java is already installed).
- Install version 5.4.1 of Apache Solr.
- Create a core directory on the Apache Solr UI.
- Copy core configuration files to your Solr directory.
- Update the db-data-config file with your database connection information.
- Start Solr from the Solr/bin directory.
- Create a Solr Core.
Once you have created the Solr core, you will need to perform a full data import using the Solr administration page.
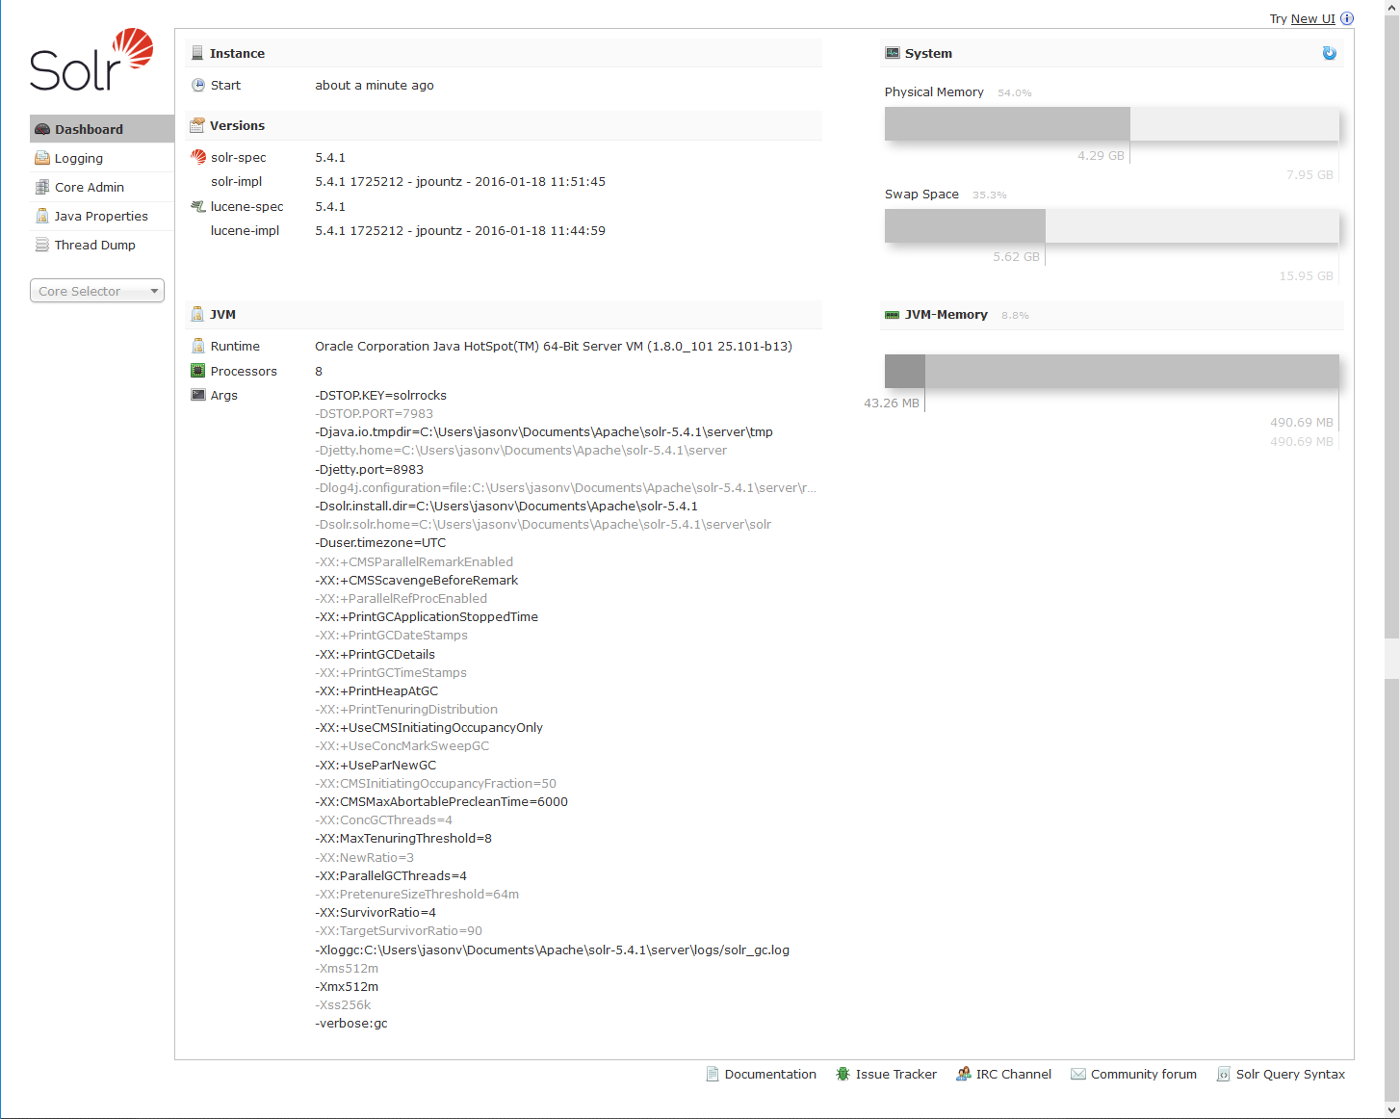
- Open a web browser and navigate to your Solr admin website at the following URL: http://localhost:8983/solr/#/ The Solr Administration website appears.
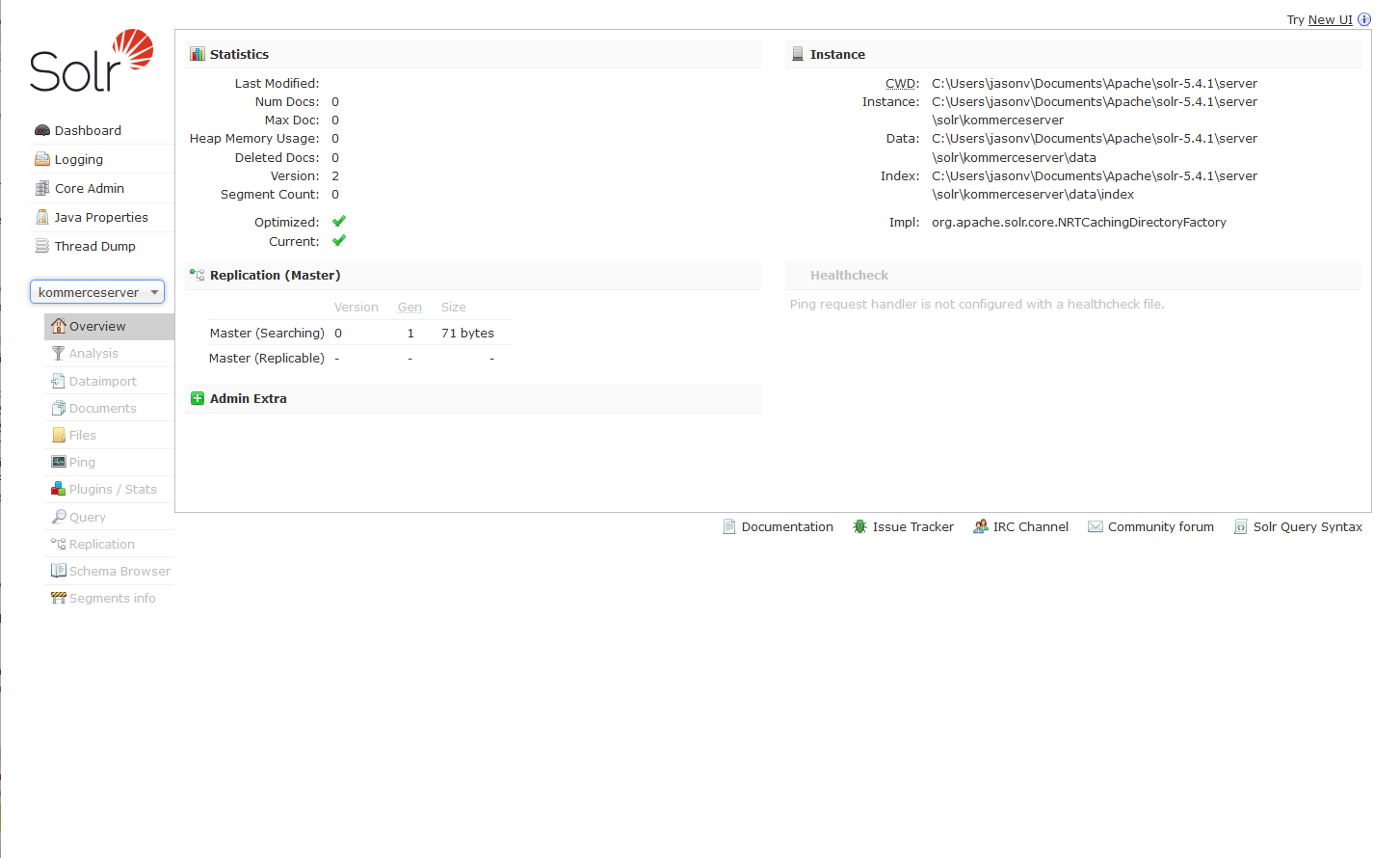
- Select the kommerceserver core you created in the previous topic from the Core Selector drop-down menu in the left pane. The kommerceserver core information appears.
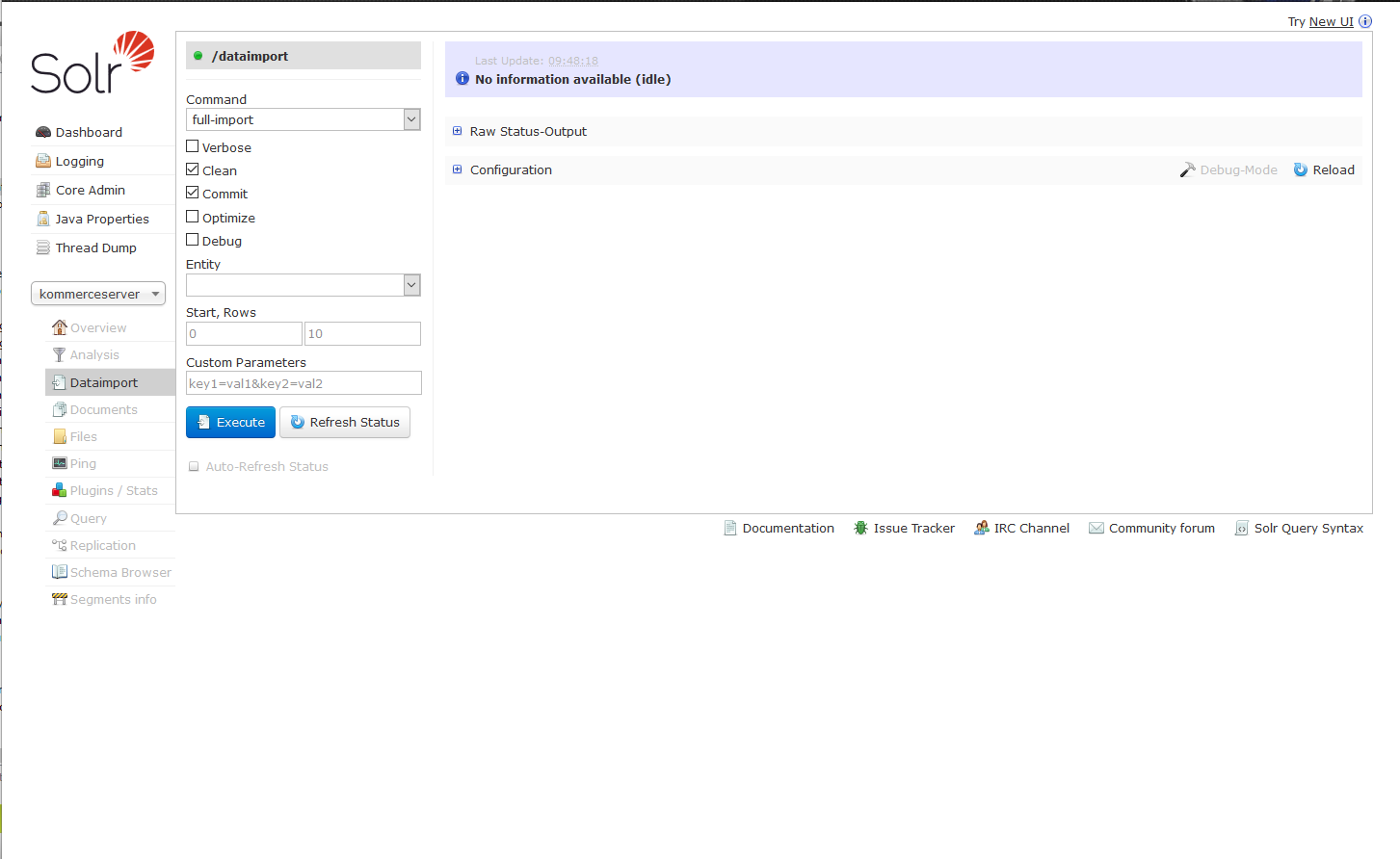
- Click the Dataimport button in the left pane. The Dataimport information appears.
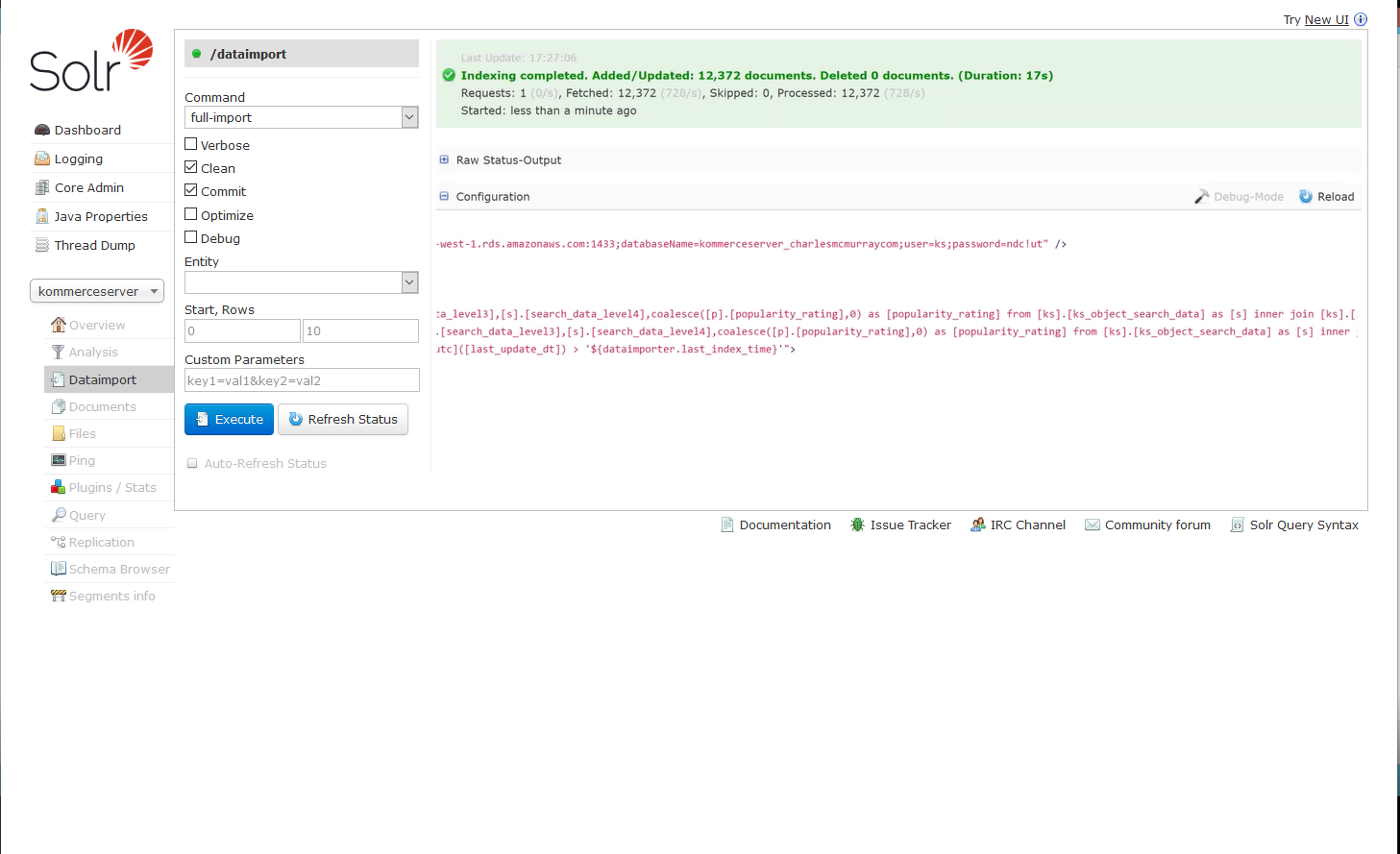
- Click the Execute button to begin the data import. The data import begins. You can click the Refresh Status button to refresh the import status. An "indexing completed" message is displayed when the import is complete.
The update should complete within a few minutes. If not, refer to the Troubleshooting Solr topic.